
How Easy Is It to Install a Sensory Path? Easier Than You Think.
It's the question I get more than almost any other:
"This looks amazing — but how hard is it to actually install?"
I completely understand the hesitation. When most people hear "floor decals in a school hallway," they picture a professional installation crew, a facilities department sign-off, a two-week wait, and a bill that rivals the path itself.
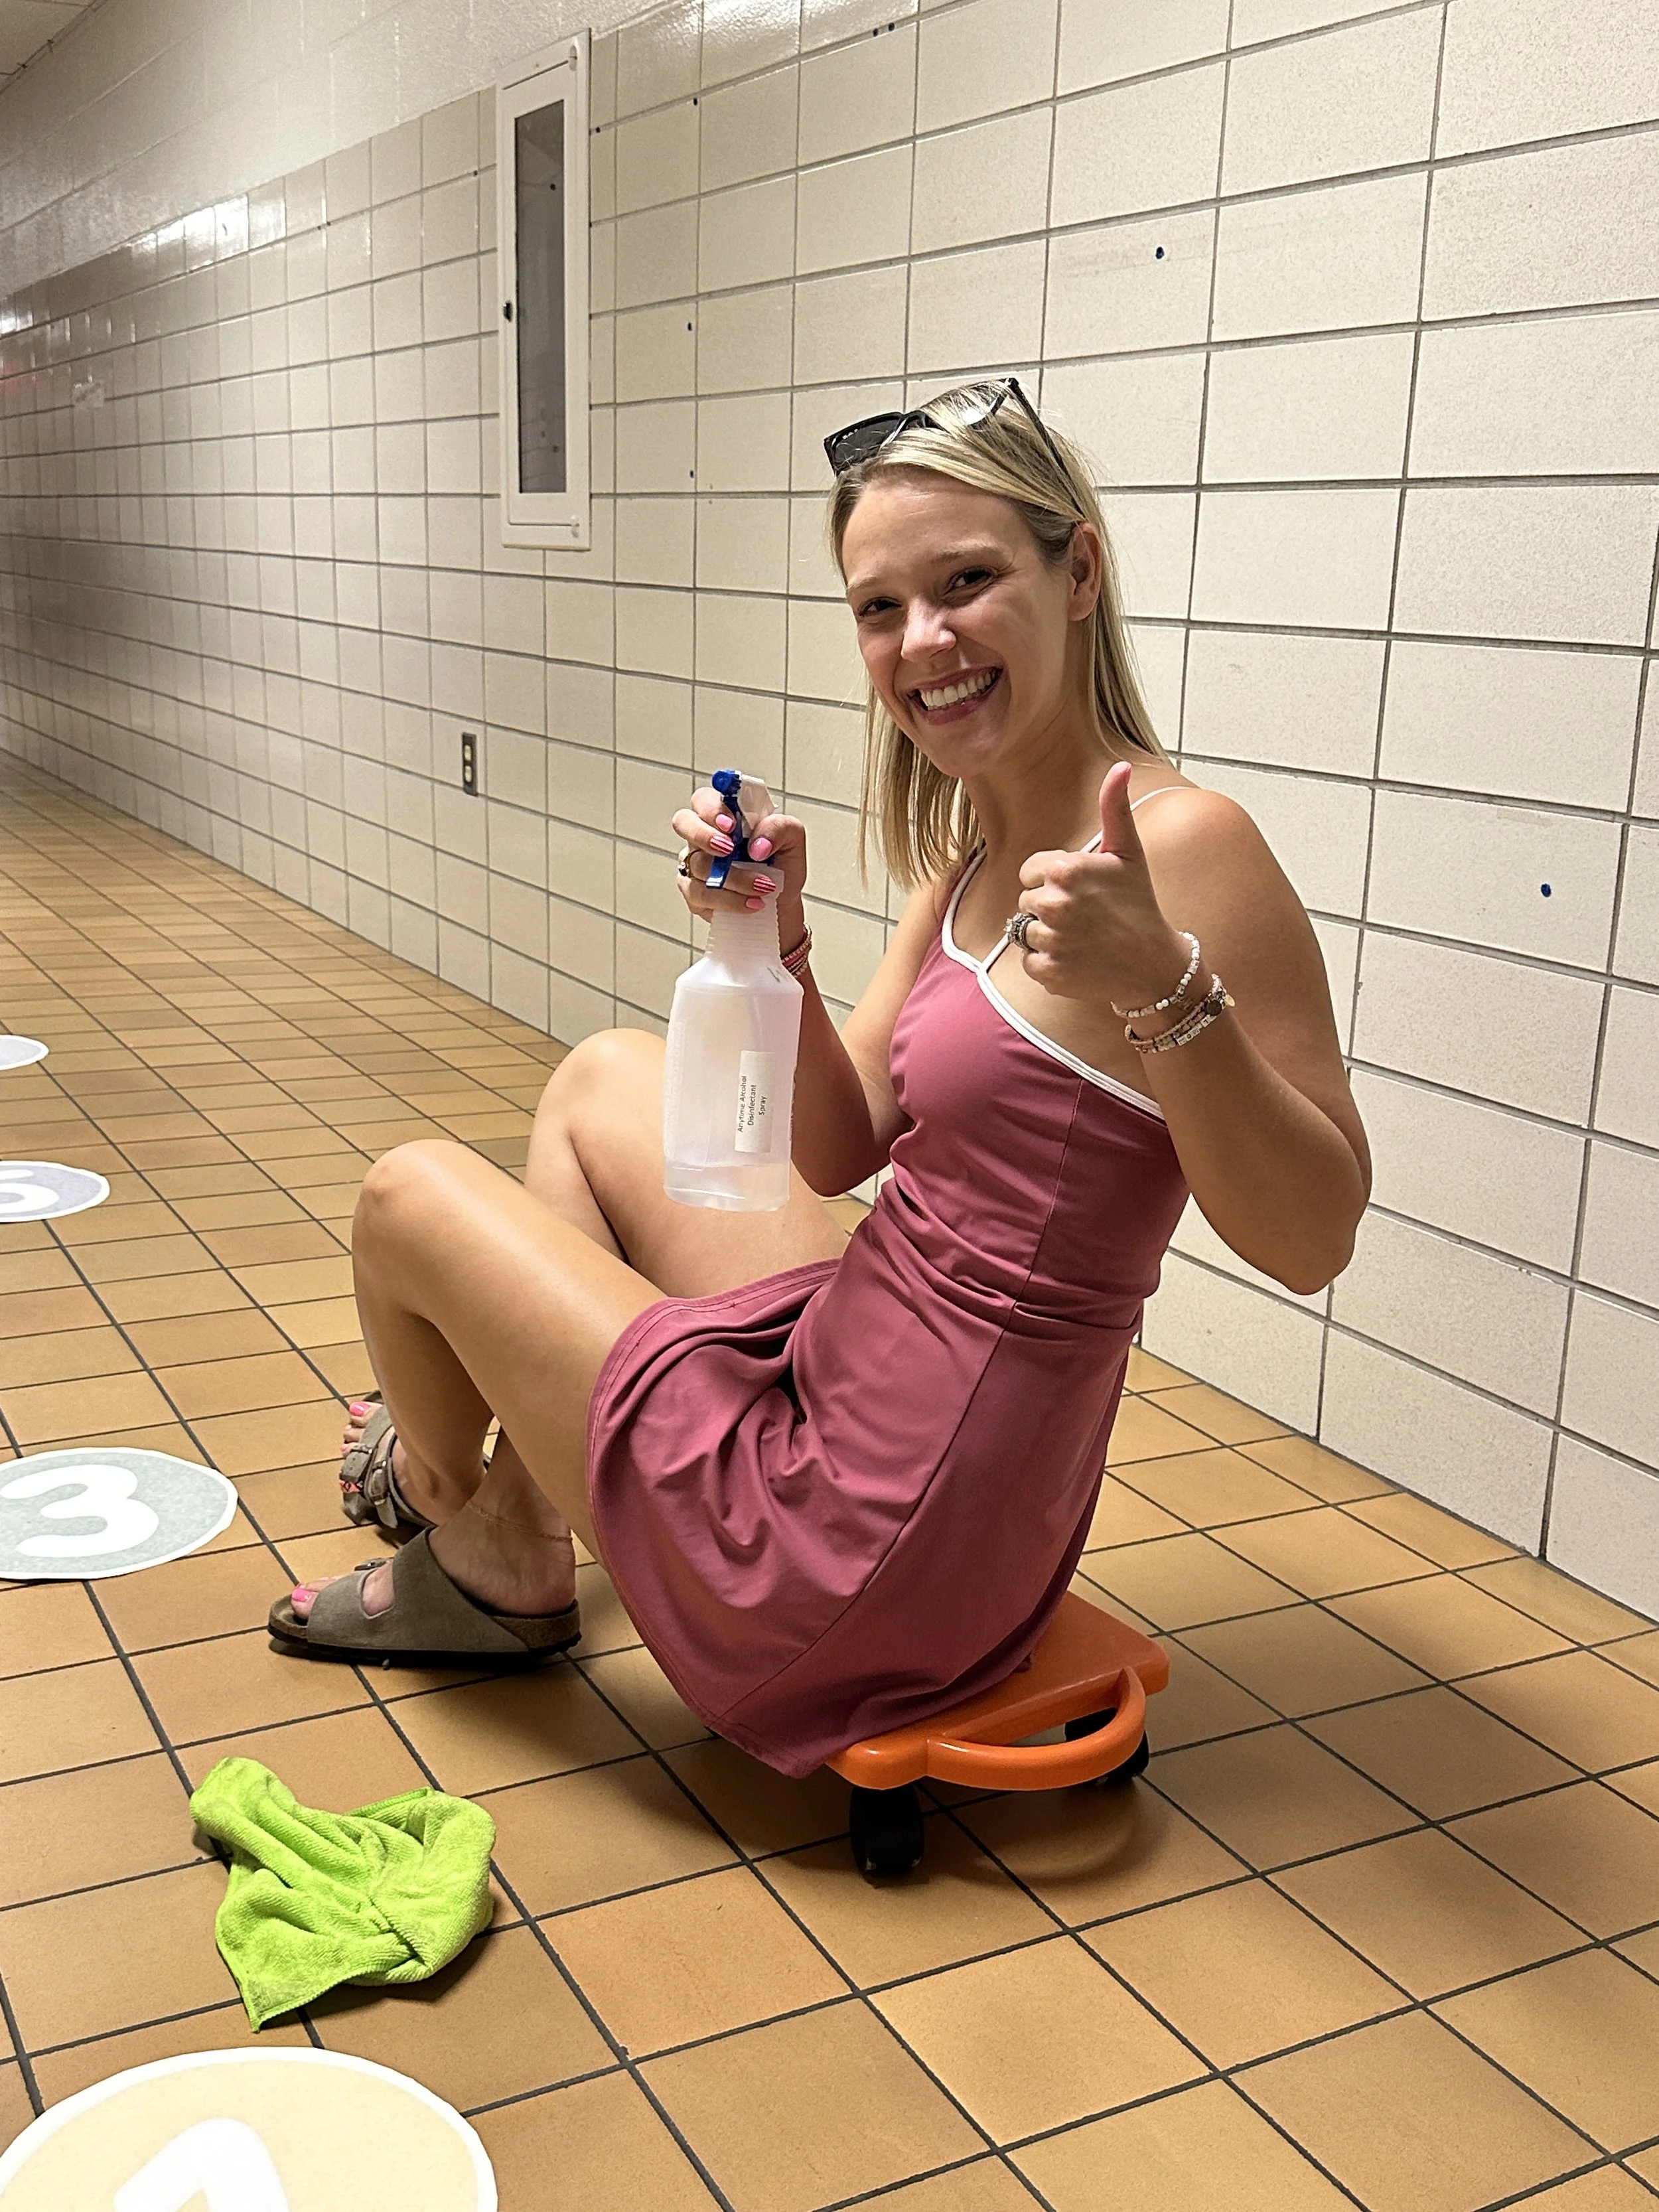
The reality? You need a spray bottle, a squeegee, a clean floor — and a free afternoon.
That's it.
Here's exactly what installation looks like from start to finish.
What Comes With Your Path
Every Sacred Steps sensory path arrives with:
All decals, commercially printed and ready to apply
Step-by-step written installation instructions
A installation video you can watch before you start and reference as you go
You don't need to hire anyone. You don't need special tools (except a small squeegee for bubble-free smoothing). You don't need a facilities background. The instructions are clear, the video makes it visual, and I'm always available by email if you have questions along the way.
How Long Does It Take?
Plan on 2 to 3 hours for a full path installation, depending on:
How many stations are included in your path
How many people are helping (more people makes it significantly faster and easier!)
The condition and size of your floor space
Is that a big time commitment? I'd argue no — especially when the result is a beautiful, permanent path that will serve your students every single day for years. Most principals and OTs tell me they installed it on a Friday afternoon, a summer workday, or during a long weekend. By Monday morning, students were already using it.
Step-by-Step: What Installation Actually Looks Like
Step 1: Choose Your Location and Lay It All Out First
Before you apply a single decal, lay everything out on the floor in the order it will be installed. This is the most important step — and one of my favorites to watch because it's the moment it all becomes real.
Spread the decals out in sequence, spacing them according to the instructions. Step back and look at the full path. Adjust spacing as needed. This is your chance to make sure everything flows the way you want before anything is permanent.
Having a second person during this step is incredibly helpful. One person can hold decals in place (or use painters tape) while the other steps back to check spacing and alignment.

Step 2: Clean the Floor Thoroughly
This is the step people most often want to skip — and it's the one that matters most for longevity.
Sweep or vacuum the area first, then wipe down the floor with a clean damp cloth to remove any dust, wax residue, or debris. Let it dry completely before applying any decals.
A clean surface means better adhesion, cleaner edges, and a path that stays put for years. This step takes maybe 15 minutes but makes a significant difference in the final result.
Pro tip: Avoid installing on freshly mopped floors or in cold temperatures — both can affect adhesion.
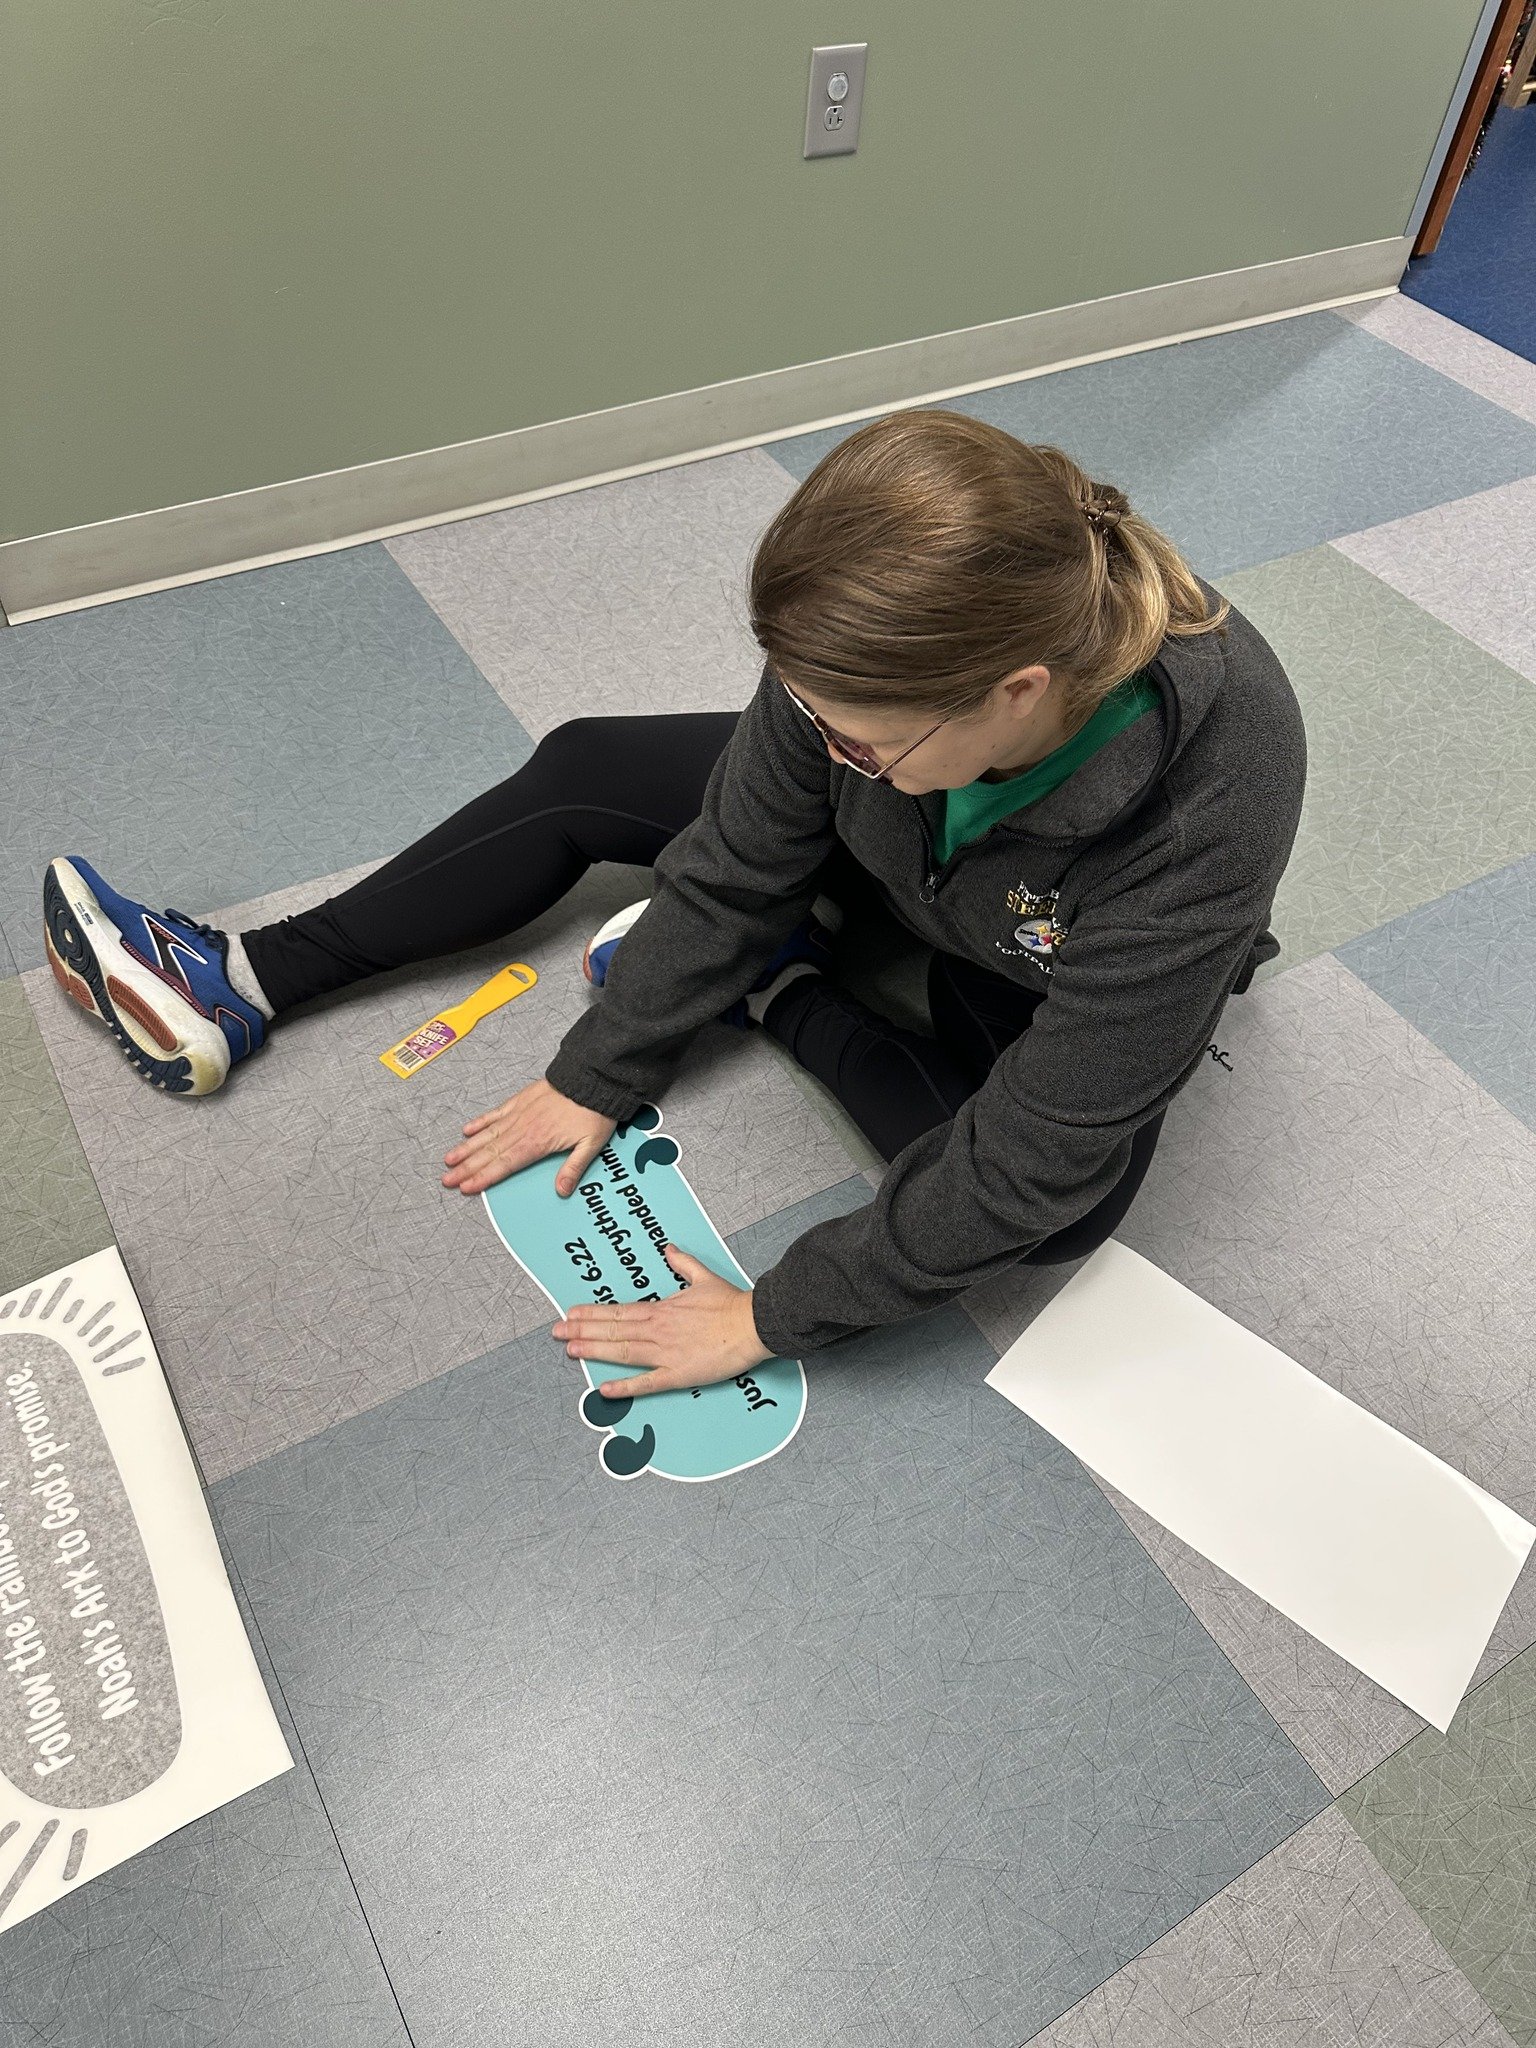
Step 3: Apply Each Decal
This is where the magic happens — and it's much easier than it looks.
Lightly wipe the floor surface, then peel the backing from your decal and position it on the surface. Once it's positioned correctly, use your squeegee tool to smooth the decal from the center outward, pushing out any air bubbles or water. Work slowly and firmly. Starting from a corner, peel the top layer slowly off, using the squeegee as needed to firmly adhere it to the surface. Once the top layer is fully removed, take the squeegee over it one more time…and move on to the next piece!
This method gives you a beautiful, bubble-free result that looks professionally installed — because it is professionally made, and the application method is designed to match.
Step 4: Smooth, Press, and Repeat
Work your way through each decal one at a time, following the layout you established in Step 1. Take your time with each one. There's no rush.
For larger decals, having a second person hold one end while you position the other makes application much easier and reduces the chance of the decal folding onto itself.
Who Can Do the Installation?
This is my favorite part of the answer: almost anyone.
I have seen Sacred Steps paths installed by:
School principals on a summer workday
OTs during a professional development day
Parent volunteers on a Saturday morning
Teachers staying late on a Friday
Maintenance staff who expected a complicated job and were pleasantly surprised
A principal and a custodian working together during lunch
You do not need to be an OT. You do not need installation experience. You do not need to hire anyone.
If you are in Ohio, I offer free installation — I come to you, bring everything, and have your path ready before I leave. It's one of my favorite parts of this work. 🙏
What About Wall Decals?
Many Sacred Steps paths include both floor AND wall activities. Wall installation is even simpler than floor installation — same method, same squeegee, just vertical instead of horizontal. The instructions and video cover both.
The Most Common Question: Will It Damage My Floor?
No. Sacred Steps decals are designed to be applied to standard school floor surfaces — vinyl tile, linoleum, sealed concrete — without damaging the floor underneath. They can be removed if needed, though they are not reusable once removed. With proper installation on a clean surface, you can expect your path to last for years — holding up beautifully to daily student traffic.
If you have an unusual floor surface or any concerns about your specific floor type, reach out before ordering and I'll walk you through it.
Tips From Real Installations
After installing paths in schools across multiple states, here's what I've learned:
Bring a friend. Two people makes everything faster, easier, and more fun. It's genuinely a great team-building activity — ask any of the principals and OTs who have done it together.
Watch the video first. I know it's tempting to just dive in, but watching the short installation video before you start gives you a mental map of the whole process and makes each step feel familiar when you get there.
Start with a smaller decal to get the feel. Before you tackle your largest decal, practice the method on a smaller one. By the time you get to the big pieces, you'll feel confident and efficient.
Summer is ideal. Empty hallways, no students underfoot, and no time pressure make summer the easiest installation window. Most schools plan their installation during summer break so the path is ready to surprise students on the first day of school. 🎉
Take photos as you go. First, because you'll want them. Second, because your students and parents will LOVE seeing the before and after. And third — I'd love to see them too! Tag @sacredstepssensorypaths when you share.
Ready to Install Your Path?
If you've been putting off ordering because installation felt like a barrier — I hope this post just removed it.
Two to three hours. A spray bottle and a squeegee. Step-by-step instructions and a full video. And a path that will make your hallway extraordinary for years to come.
👉 Shop Sacred Steps Sensory Paths
📧 Questions? Email hello@sacredstepssensorypaths.com — I read every message personally.
Ohio schools: free installation is available. Just ask!